Simple and Effective Squirrel Box Plans for Starters
Hey there, nature lovers! Want to attract some adorable squirrels to your backyard? Building a squirrel box is a fun and rewarding project that can bring a touch of wild charm to your outdoor space. Even if you're a complete beginner when it comes to woodworking, don't worry â€" these plans are super easy to follow. Let's dive in and make your own squirrel haven!
Getting Started: What You'll Need
Before you start hammering and sawing, gather your materials. You'll need:
- Wood: Choose a rot-resistant wood like cedar or redwood. You'll need around 6-8 board feet for a basic squirrel box.
- Screws: Use 1 1/4-inch or 2-inch screws for securing the wood.
- Saw: A circular saw or a hand saw will work for cutting the wood.
- Drill: You'll need a drill for pre-drilling holes before screwing.
- Measuring Tape: Essential for making accurate cuts and ensuring everything fits perfectly.
- Level: To make sure your box is straight and level.
- Sandpaper: To smooth out any rough edges.
- Paint or Stain: Optional, but adding a coat of paint or stain will help protect the wood and enhance the look.
- Safety Glasses: Always wear safety glasses when working with power tools.
Step-by-Step: Building Your Squirrel Box
Now that you have your tools and materials ready, let's get building!
1. Cut the Wood
Start by cutting the wood according to these measurements:
- Front and Back Panels: 12 inches wide x 8 inches high
- Sides: 10 inches wide x 8 inches high
- Top: 12 inches wide x 10 inches deep
- Bottom: 12 inches wide x 10 inches deep
- Entrance: 4 inches wide x 4 inches high (cut this out on one of the front panels)
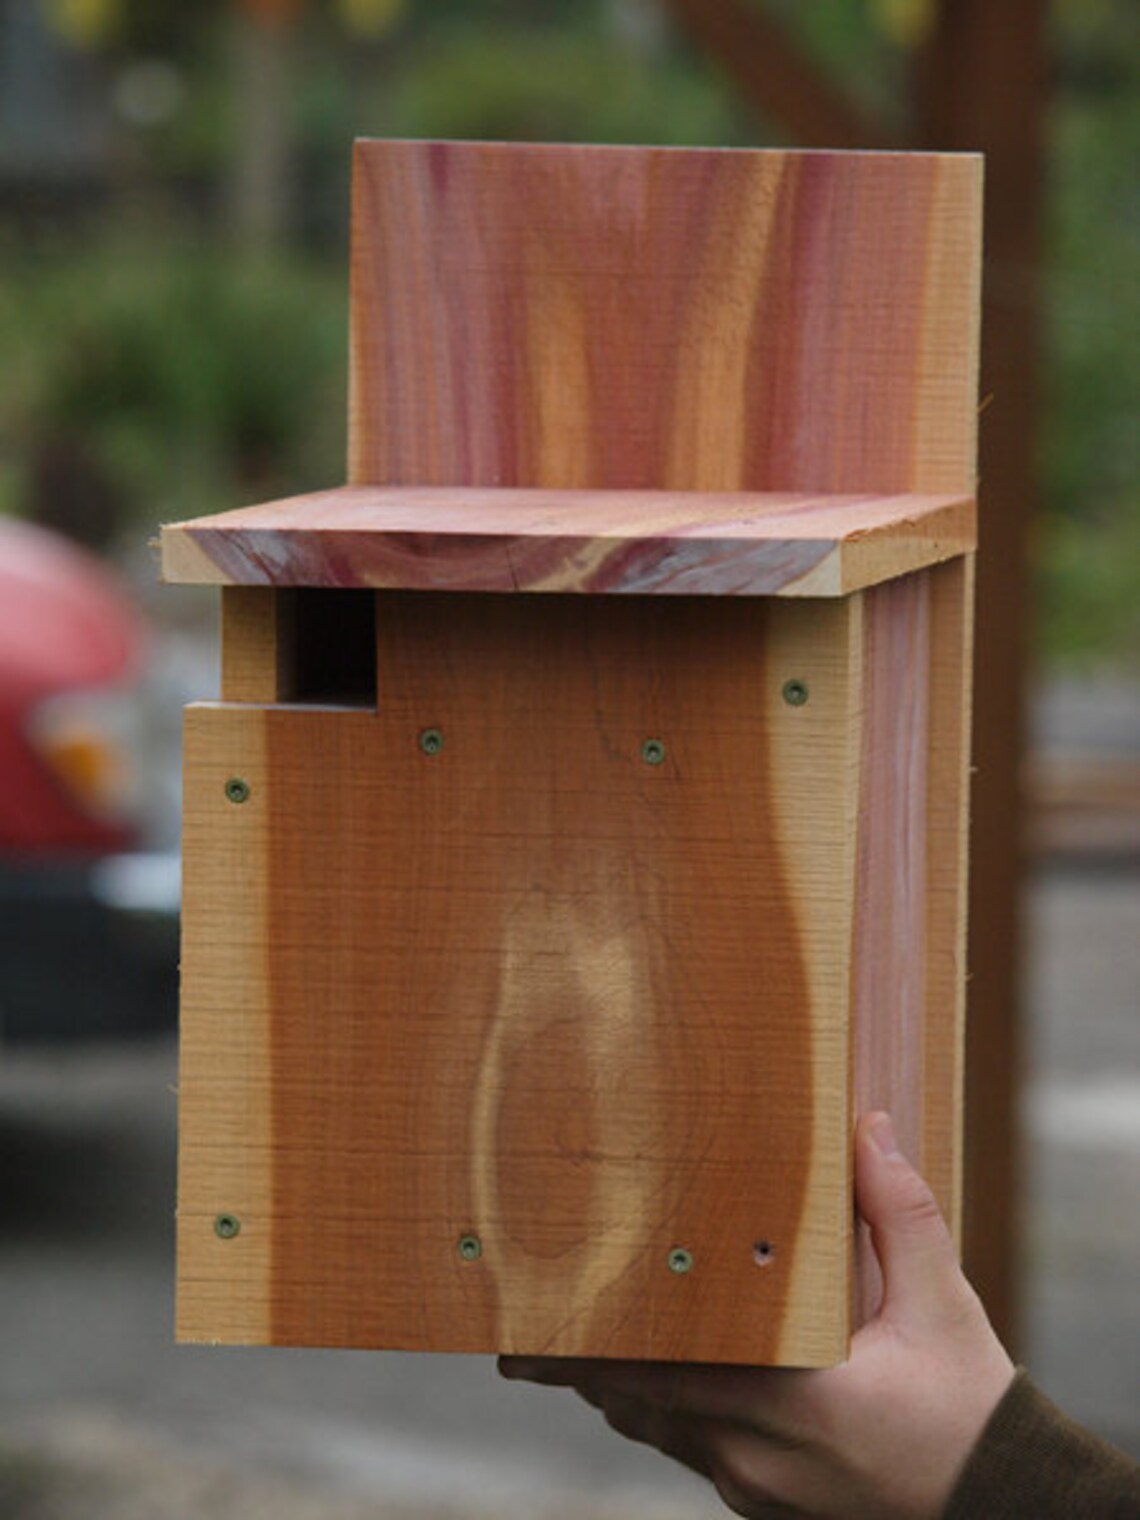
2. Assemble the Box
Now it's time to put the box together.
- Attach the Sides: Screw the two side panels to the back panel, making sure the bottom edges are flush.
- Add the Front: Attach the front panel with the entrance cut-out to the sides, aligning it with the back panel.
- Secure the Bottom: Screw the bottom panel to the sides and back panel.
- Attach the Top: Screw the top panel to the sides and front panel, creating a hinged lid.
3. Finishing Touches
Your squirrel box is almost ready! Here are some final steps to make it perfect:
- Sand the Edges: Use sandpaper to smooth out any rough edges or splinters.
- Add a Roof: Optional, but you can add a slanted roof to protect the squirrels from rain by attaching a piece of wood angled over the top.
- Paint or Stain: If you want to, paint or stain the box with a weather-resistant product.
- Attach a Perch: You can add a small perch just below the entrance for squirrels to rest.
- Choose a Location: Find a spot in your backyard that is sheltered from the elements, ideally in a tree or on a pole.
Tips for Attracting Squirrels
You've built the perfect squirrel box, now it's time to attract some furry friends! Here are some tips:
- Place it near a Food Source: Squirrels love nuts, seeds, and fruits, so try placing the box near a feeder or a tree with lots of nuts.
- Provide Bedding Material: Fill the box with soft bedding material like shredded paper, cloth scraps, or dry leaves.
- Be Patient: It may take some time for squirrels to discover and settle into the new box, but be patient and don't give up!
Enjoy Your New Squirrel Neighbors
Building a squirrel box is a fun and rewarding project. It's a great way to connect with nature and learn a new skill. Plus, watching playful squirrels scamper around your backyard is sure to bring a smile to your face. So, gather your materials, get building, and let the squirrel adventures begin!

0 comments:
Post a Comment