Alright, so you've got some scrap wood hanging around and you're itching to do something creative. You've been eyeing those fancy ladder shelves in stores, but let's be honest, they're pricey! Don't worry, my friend, we're going to build our own, and it's going to be awesome. Think of it as a weekend project that'll not only give you a new, functional piece of furniture, but also a healthy dose of DIY pride.
Step 1: Gather Your Gear
First things first, let's make sure we have everything we need. This isn't rocket science, but a little preparation goes a long way:
Wood: Now, you can use pretty much any kind of wood you like. Pine is cheap and easy to work with, but hardwoods like oak or maple will give you a more robust and rustic look. Aim for 1x6 inch boards, and think about how many shelves you want. I usually go with three to five, depending on the height of my ladder.
2x4s: These will be your "rungs" and the base of your ladder. Again, you can use whatever kind of wood you prefer, but make sure they're straight and sturdy.
Wood Glue: This stuff is your friend! It'll hold everything together nicely.
Wood Screws: You'll need two sizes: longer ones for attaching the shelves to the rungs, and shorter ones for securing the rungs to the base.
Finishing Touches: Sandpaper, wood stain or paint, and a sealant (optional) will give your ladder shelf that final touch.
Step 2: Measuring and Cutting
Now, let's get down to the nitty-gritty. Grab that measuring tape and pencil, and let's figure out the dimensions of our masterpiece.
Rungs: Think about how tall you want your ladder shelf to be, and then divide that by the number of shelves you want. For example, if you want a 6-foot tall ladder with four shelves, each rung will be 18 inches long (6 feet / 4 shelves = 18 inches).
Base: Cut two pieces of 2x4 to the same width as your ladder. These will form the bottom of the structure.
Shelves: Measure the width of your rungs and cut your 1x6 boards to match. You'll need one shelf for each rung.
Step 3: Assembling the Ladder
Now, the fun part! Grab those 2x4s and start putting your ladder together.
Base: First, lay your base pieces down parallel to each other, about a foot apart. These will be the bottom of your ladder.
Rungs: Starting from the base, attach your rungs to the base using wood glue and screws. Make sure the rungs are spaced evenly apart.
Support: If you want to add some extra stability to your ladder, you can use a couple of short pieces of 2x4 to create a "crossbar" between the rungs. Place it about a third of the way up from the base.
Step 4: Adding the Shelves
Okay, we're almost there! Grab those shelves and let's get them attached.
Attaching: Place your shelves on top of the rungs. Make sure they're centered and level. Secure each shelf to the rung with wood glue and screws.
Even Spacing: Double-check that all the shelves are evenly spaced. You don't want your ladder to be lopsided!
Step 5: Finishing Touches
Now comes the part where we really make this ladder shelf shine!
Sanding: Smooth out any rough edges and imperfections with sandpaper.
Staining or Painting: Now's the time to get creative! Choose a stain or paint that complements your living room decor.
Sealing (Optional): If you're using a stain, a sealant will help protect the wood and prevent spills from soaking in.
Step 6: Styling and Display
You did it! Your DIY ladder shelf is complete. Now comes the fun part: styling it!
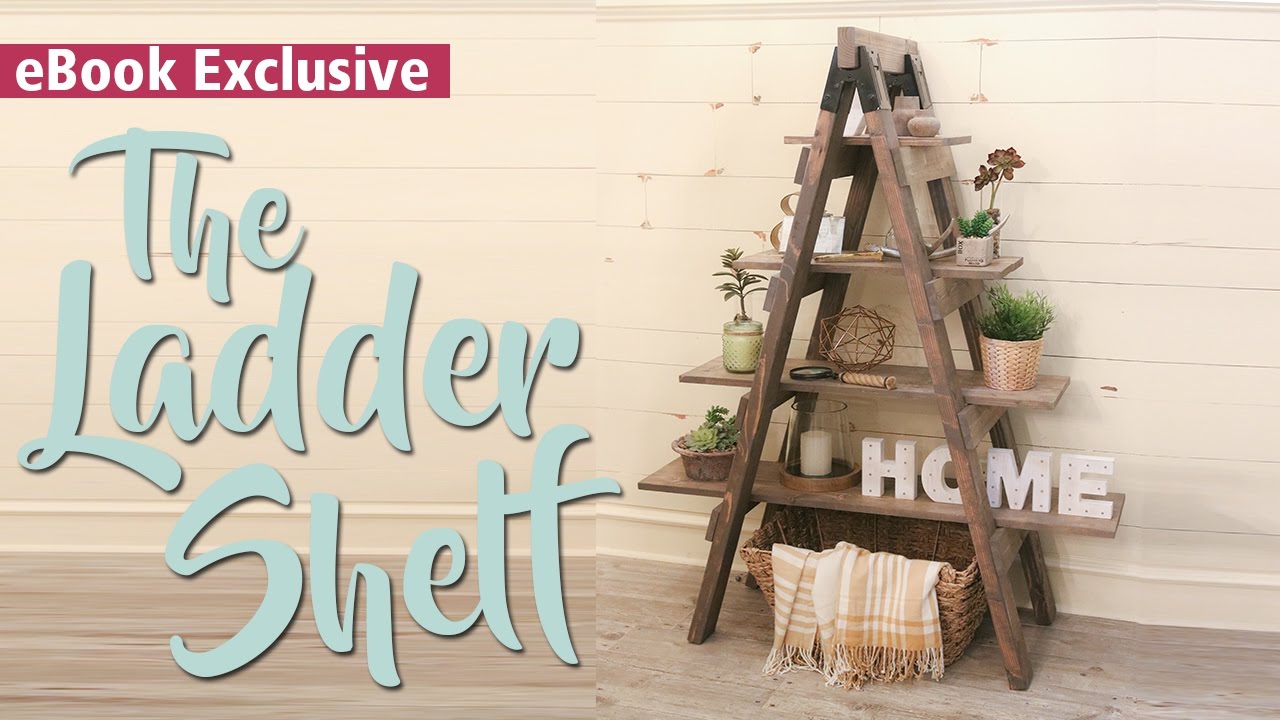
Books: Books are a classic choice for ladder shelves. Arrange them by color, size, or genre for a visually appealing display.
Plants: Add some greenery to your living room with potted plants or hanging baskets.
Decorative Items: Let your personality shine through with photos, artwork, and other decorative items.
Storage: Use your ladder shelf to store blankets, throws, or other items you need easy access to.
Tips and Tricks:
Pre-drill Holes: Before you start screwing, pre-drill holes in the wood. This will help prevent the wood from splitting.
Use a Level: Make sure everything is level as you go. A level will save you a lot of headaches later on.
Get Creative: Don't be afraid to experiment with different styles and finishes. The sky's the limit!
Building a ladder shelf isn't just about making a useful piece of furniture, it's about making something you can be proud of. So, gather your materials, put on some music, and have fun creating something special for your living room. Who knows, you might even be inspired to build more DIY masterpieces!

0 comments:
Post a Comment